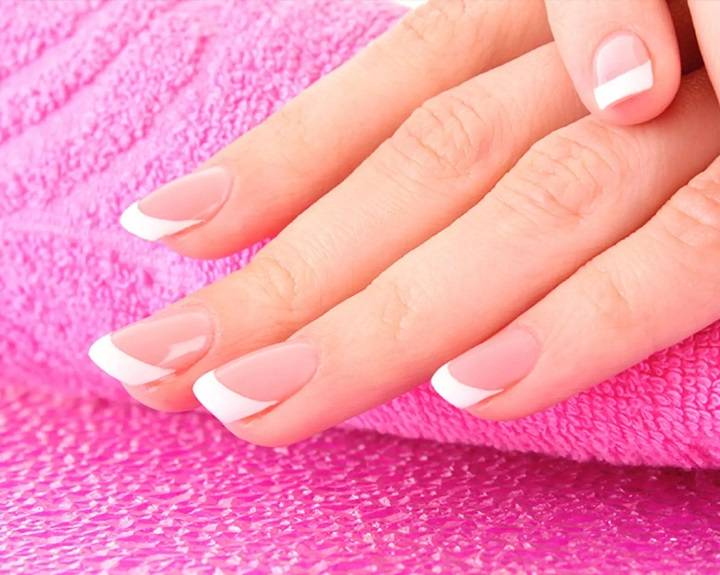
French tips are a classic and timeless nail design that can instantly elevate your style. Whether you’re a nail enthusiast or someone looking to master the art of DIY manicures, achieving the perfect French tips can be a rewarding endeavor. In this comprehensive guide, we’ll walk you through the step-by-step process of creating flawless French tips right at home. You’ll learn the techniques, tools, and tips to achieve salon-quality results without the salon prices.
Section 1: Gather Your Supplies
Before you start, it’s essential to have all the necessary supplies ready. Here’s a list of what you’ll need:
- Nail polish remover
- Nail clippers
- Nail file
- Cuticle pusher
- Cuticle oil
- Base coat
- White nail polish
- Clear topcoat
- Nail guides or scotch tape
- A small brush or Q-tips
- A small cup of acetone
- Cotton balls or pads
Section 2: Preparing Your Nails

- Begin by removing any old nail polish using nail polish remover.
- Trim your nails to your desired length and shape them with a nail file.
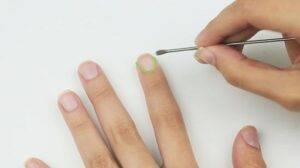
- Gently push back your cuticles using a cuticle pusher, and apply cuticle oil to keep them hydrated and healthy.
Section 3: Applying the Base Coat
- Start with a clear base coat to protect your nails and create a smooth surface for the white tips.
- Apply a thin, even layer of the base coat and let it dry completely before moving on.
Section 4: Creating the White Tips
- You have two options for creating the white tips:a. Using Nail Guides:
- Place a nail guide on each nail, leaving only the tip exposed.
- Apply white nail polish to the exposed tip, making sure it’s even and opaque.
- Carefully remove the nail guides while the white polish is still wet.
- If you’re using French tip guides, let the white polish dry before moving on.
b. Using Scotch Tape:
- Cut thin strips of scotch tape and apply them to your nails, leaving the tip exposed.
- Apply white nail polish to the exposed tip, ensuring a clean, straight line.
- Carefully remove the tape while the white polish is still wet.
- Let the white polish dry completely before proceeding.
Section 5: Perfecting the French Tips
- If necessary, use a small brush or Q-tip dipped in acetone to clean up any uneven edges and create crisp lines.
- Apply a second coat of white polish if needed for a more opaque finish.
Section 6: Applying the Top Coat
- Finish your French tips with a clear topcoat to seal the design and add shine.
- Allow the topcoat to dry thoroughly to prevent smudging.
Section 7: Final Touches
- After your nails are completely dry, apply cuticle oil again to moisturize your cuticles and keep your nails looking fresh.
- Clean up any excess polish around your nails with a cotton ball or pad dipped in nail polish remover.
With this step-by-step guide, you can achieve beautiful French tips right in the comfort of your own home. Perfecting this classic nail design takes practice, but with the right tools and techniques, you can create salon-quality results. Remember to be patient, take your time, and don’t be afraid to experiment with different styles and nail shapes. Your friends will be amazed at your newfound nail art skills, and you’ll be proud of your beautifully manicured hands. So, go ahead and treat yourself to a fabulous French tip manicure!


